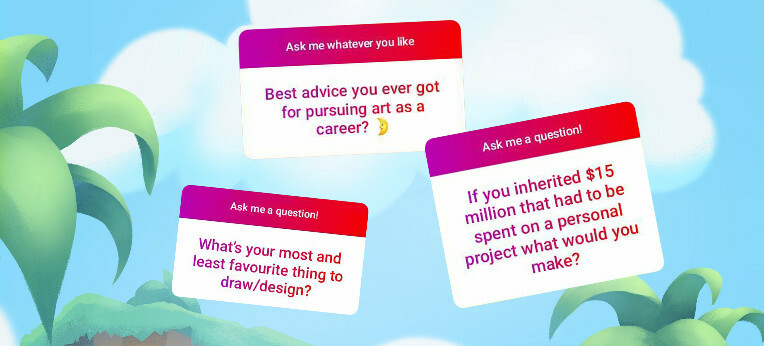
Every now and then through my Instagram stories I invite anyone to ask me a question. For this post, I’m going to share a few of the most interesting or my favorite questions people have asked.
I just got my first job as a background artist and I start tomorrow, I’ve already gone in for introductions and stuff and everyone’s really nice but I’m still super nervous! 😅 Do you have any advice for someone just starting out?
Congrats on the job! Don’t worry about being new, everyone’s usually very understanding.
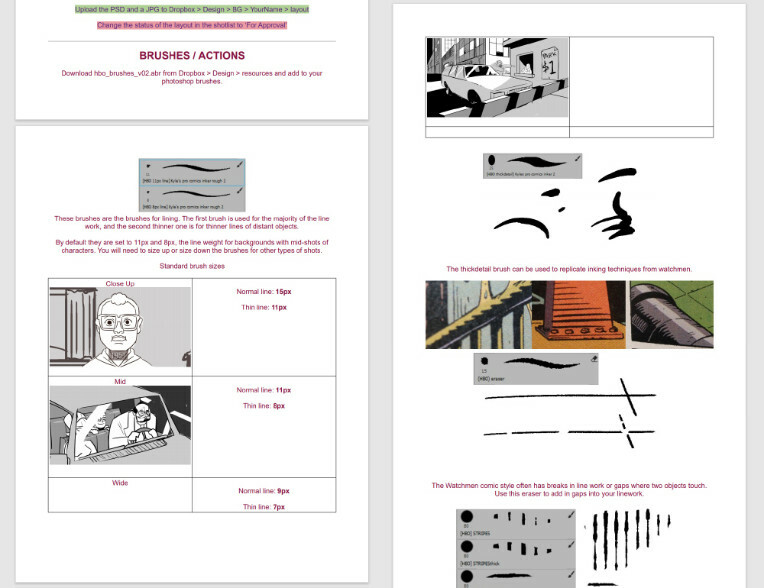
Always have a notebook handy and take lots of notes. You’ll never know what you’ll need to remember later on and don’t assume you’ll just remember every instruction you’re told.
The most important thing is following instructions. You might be instructed to do things in certain ways for reasons that won’t be clear at first. You’ll be popular with your leads/art directors/producers if you’re easy to manage and work with.
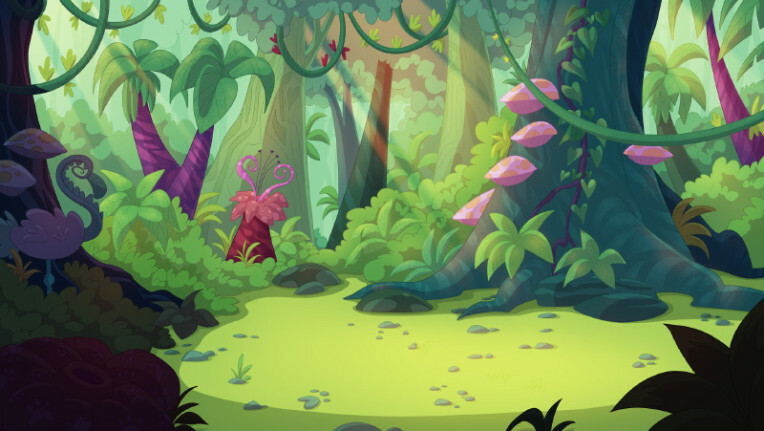
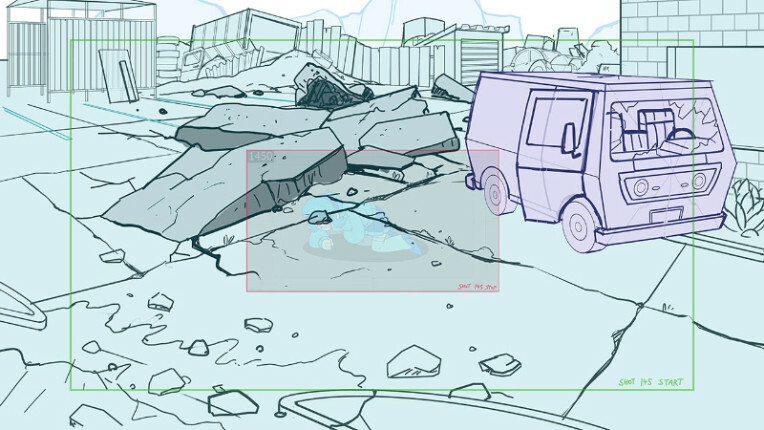
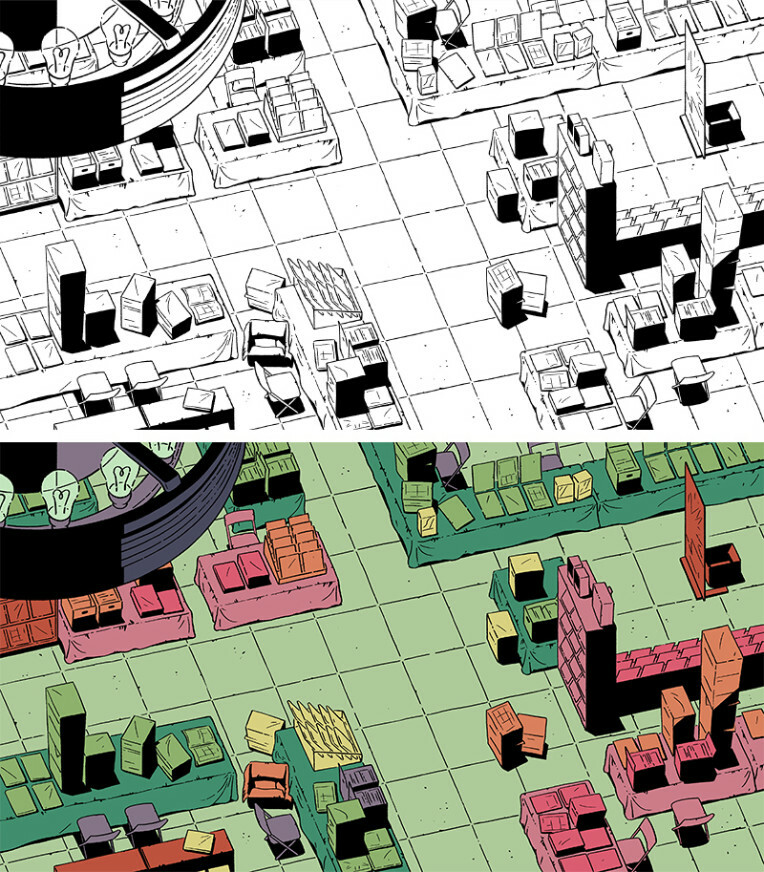
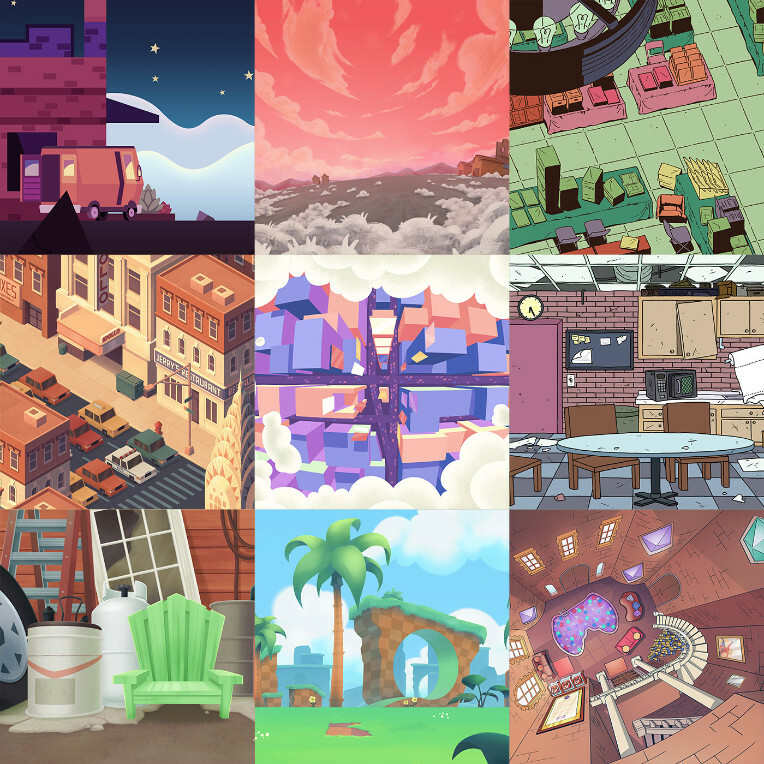
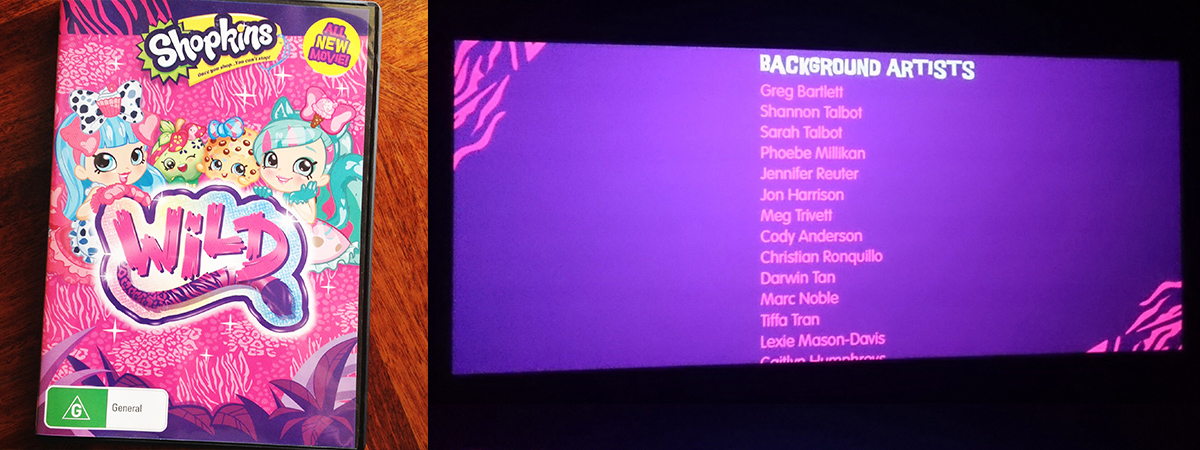
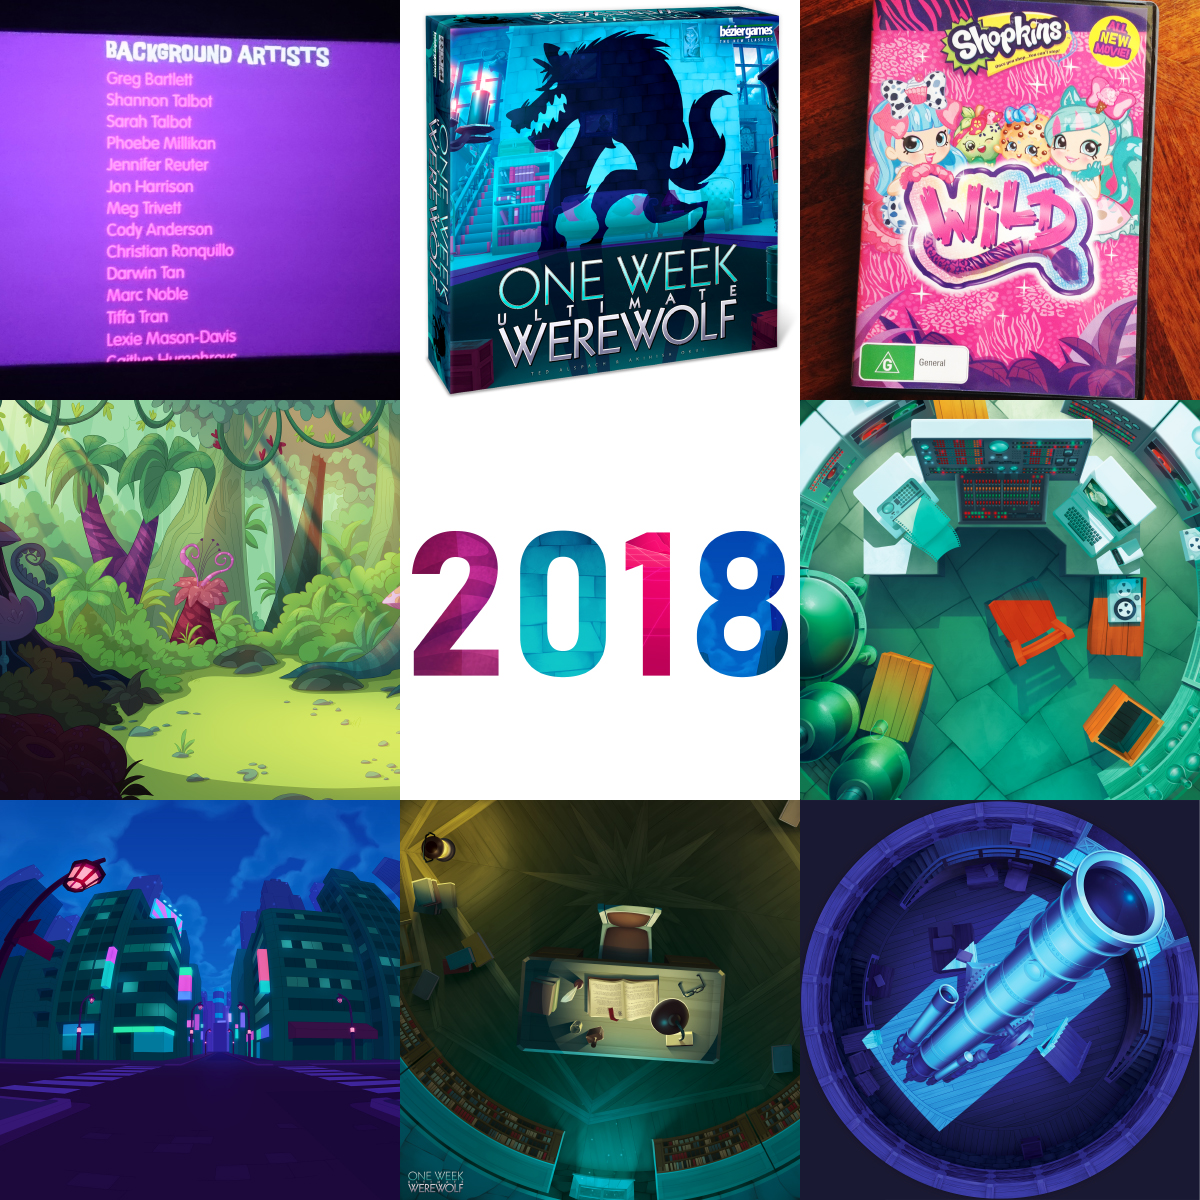
(Shopkins Wild [Studio Moshi] was my first studio job and everyone was very friendly!)
What’s your most and least favourite thing to draw/design?
The obvious answer: I love drawing background and I’ve got no interest at all in characters
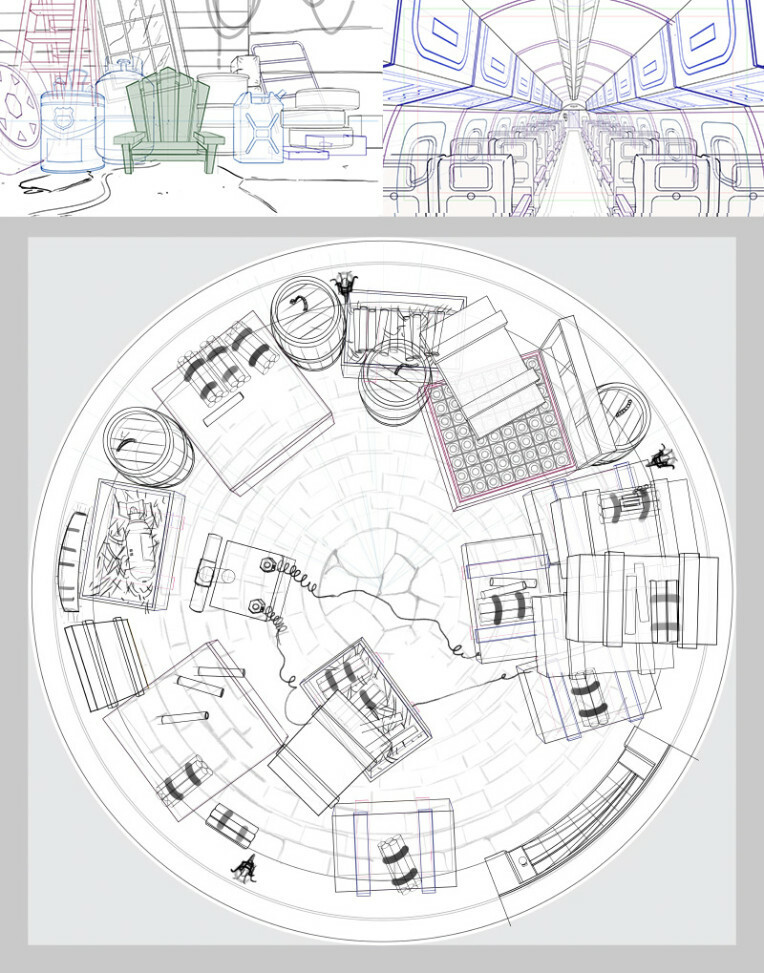
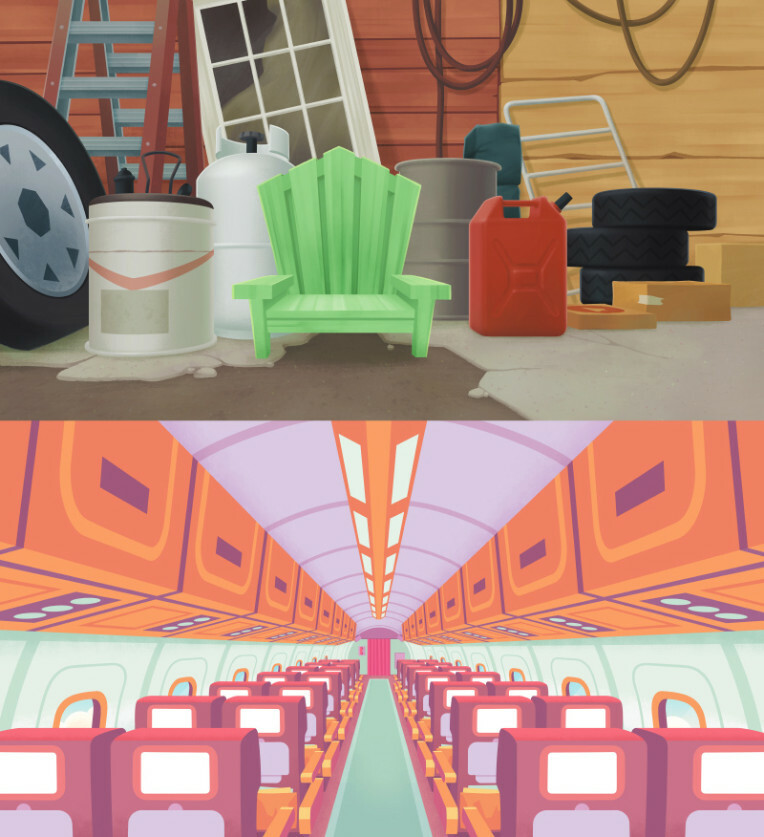
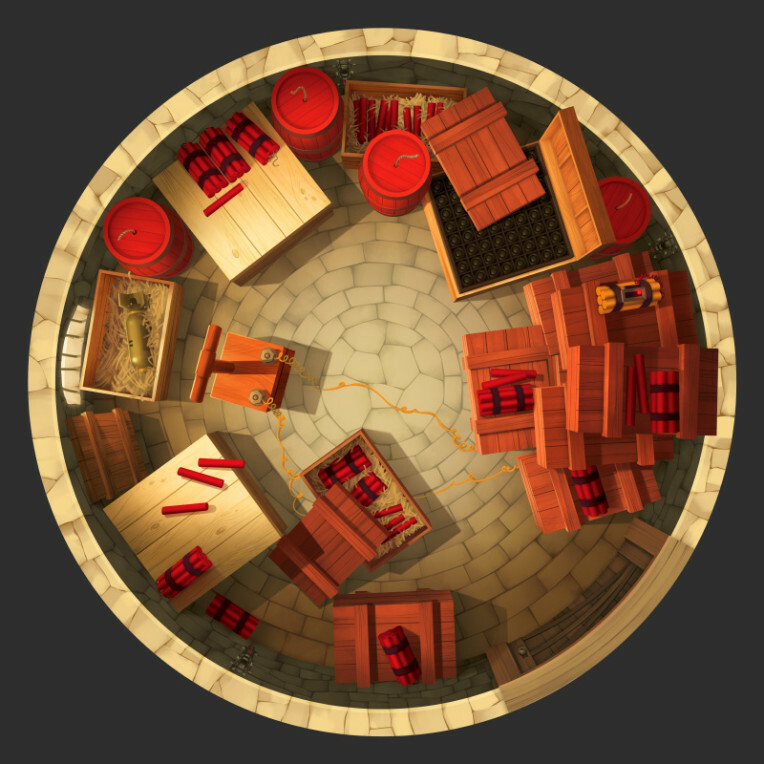
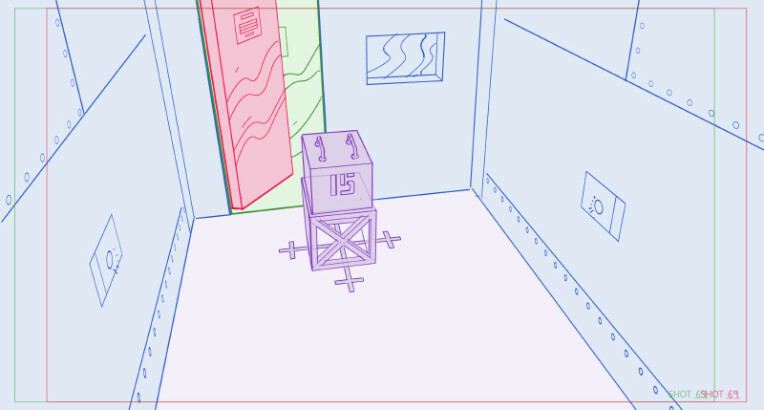
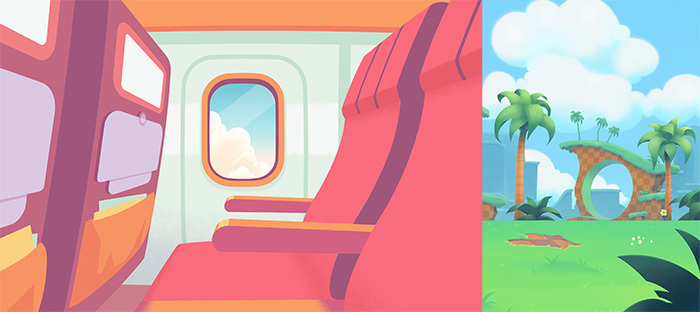
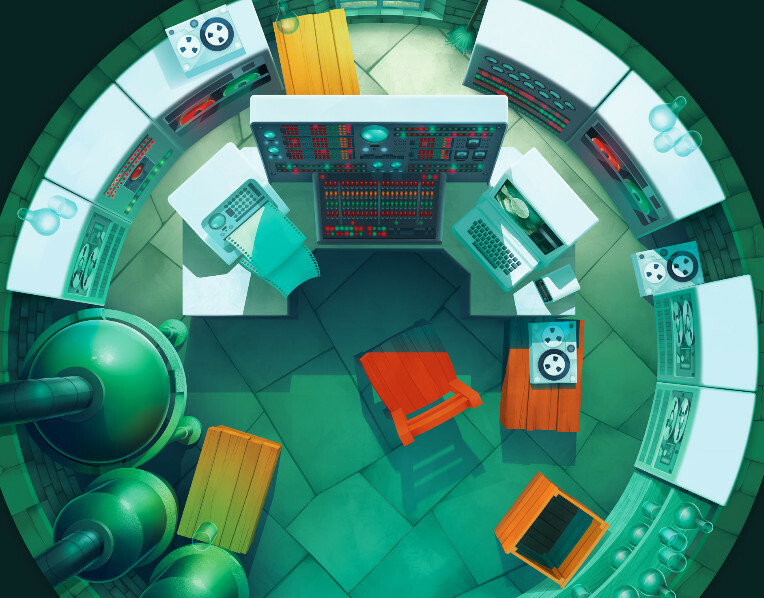
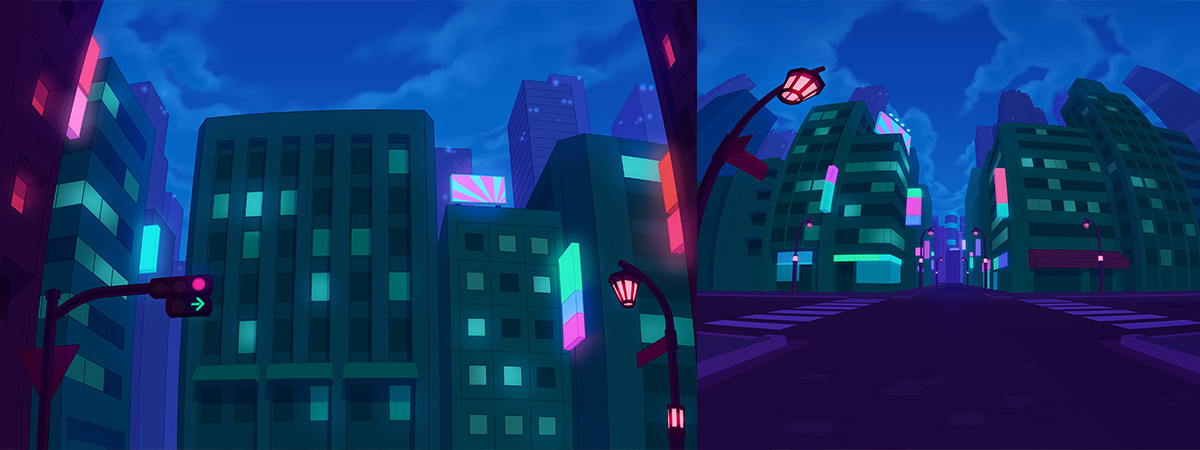
But more specifically out of the things I do draw, I love doing interiors of interesting locations such as the plane below.
Painting lots of trees can be fairly tedious, especially if there’s lots of them and I’m trying to make them all look natural.
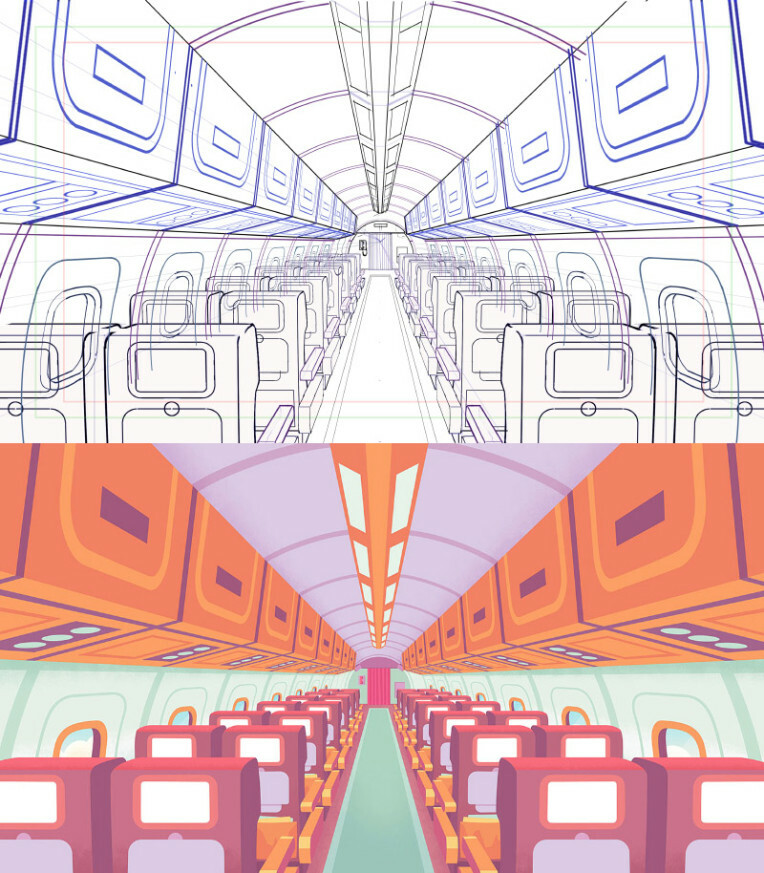
(This plane interior from Surfaces x Elton John 'Learn to Fly' [Studio Showoff] is the kind of perspective challenge I like most)
Best advice you ever got for pursuing art as a career?
Back when I studied at TAFE (a tertiary education institution here in Australia), everyone (both lecturers and industry people) stressed the importance of your portfolio, and also what really only counted is the initiative you took and the projects you did BEYOND just your class assignments and curriculum.
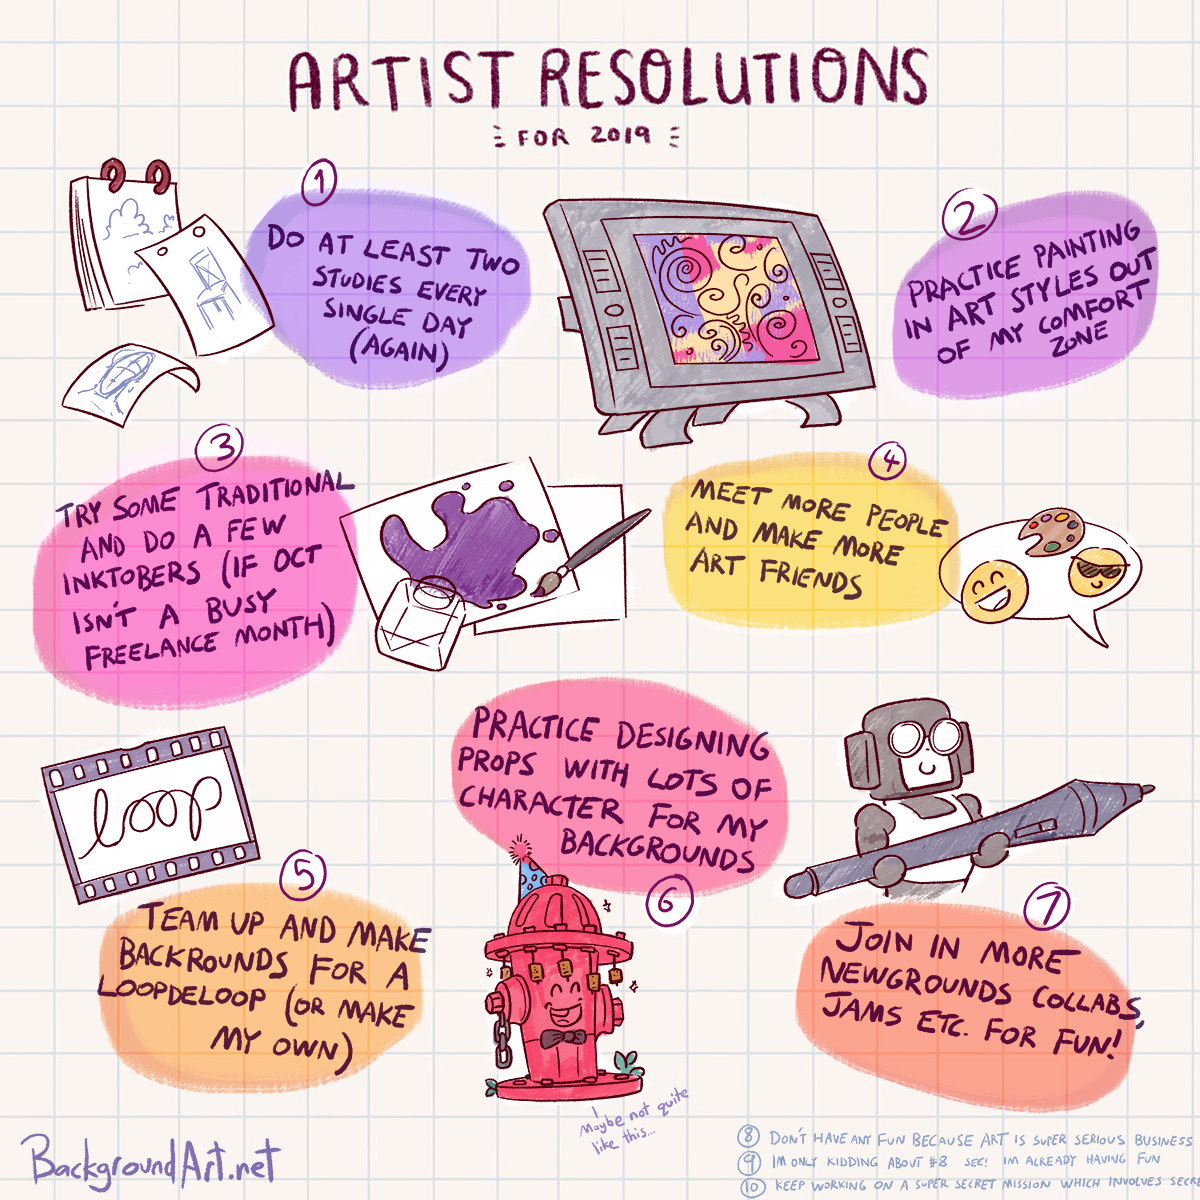
That turned out very true, a lot of my participation in making projects on the side that I would publish on places such as Newgrounds formed that initial experience and connections that started me on the trajectory of my career.
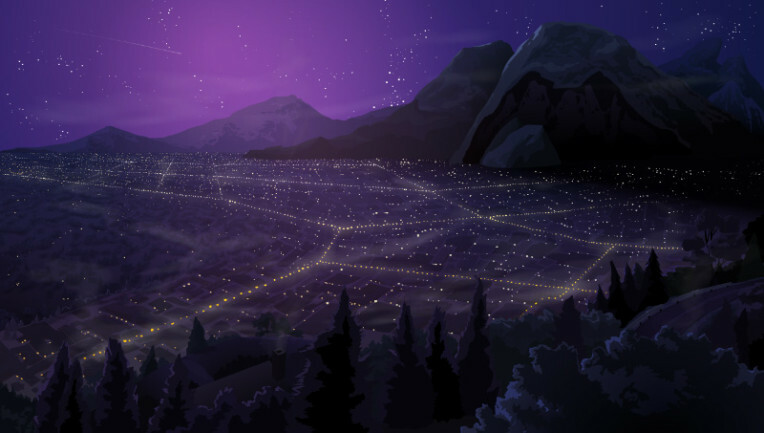
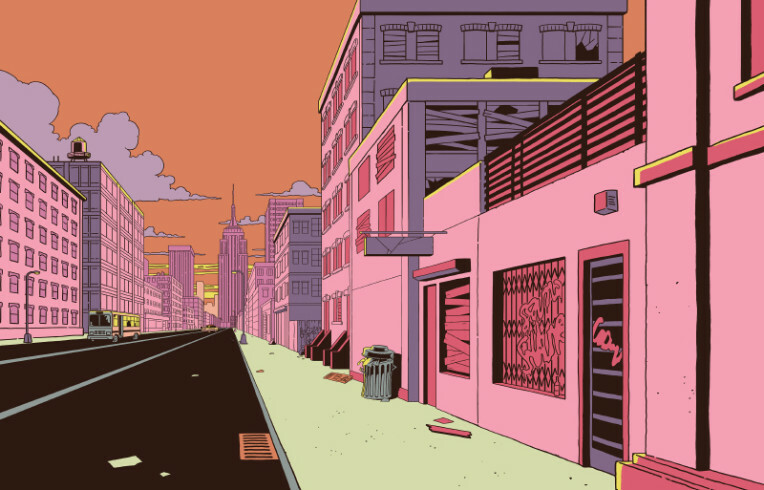
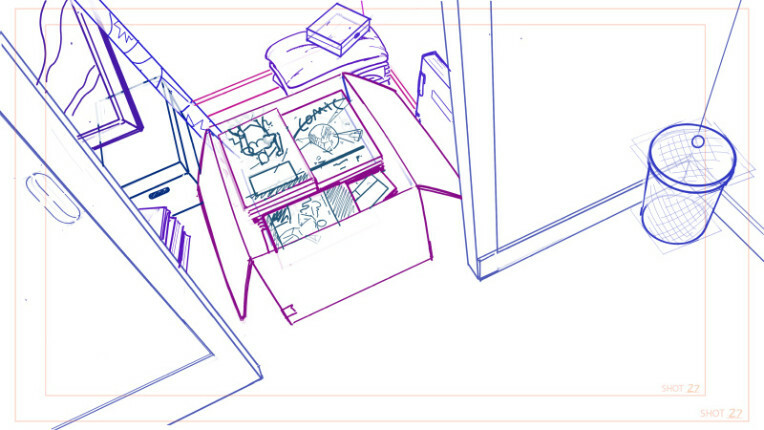
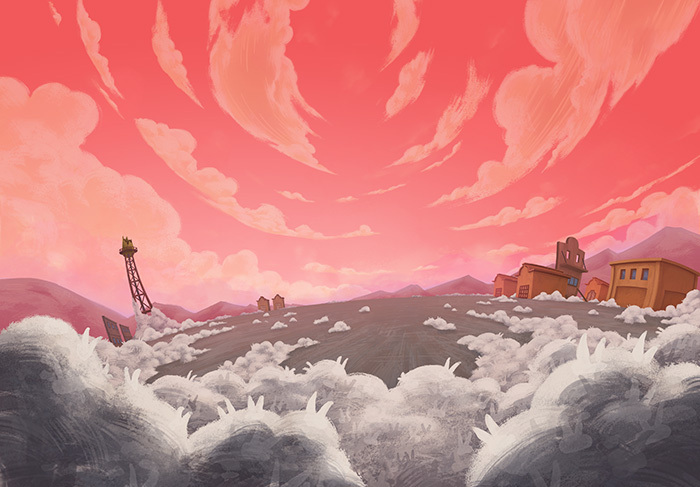
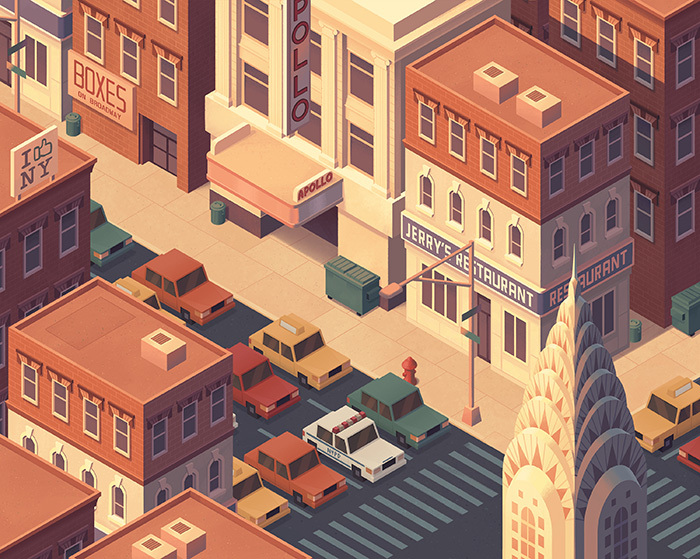
(A background I painted in 2010 for ‘Comet’ a personal project I was working on during my last year of TAFE. Publishing cartoons to Newgrounds meant I had valuable experience actually finishing projects)
Have you ever had to paint a background within a background?
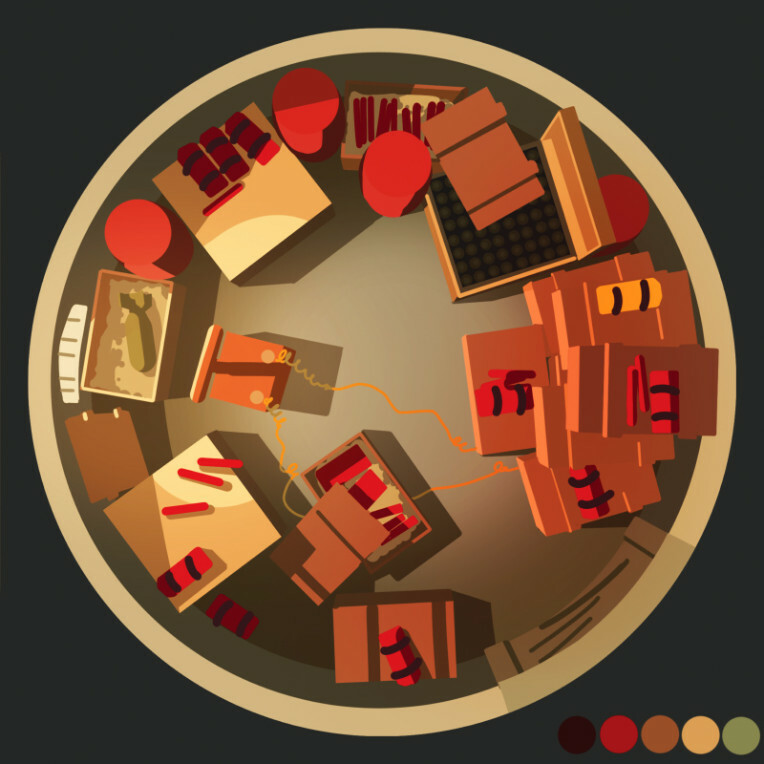
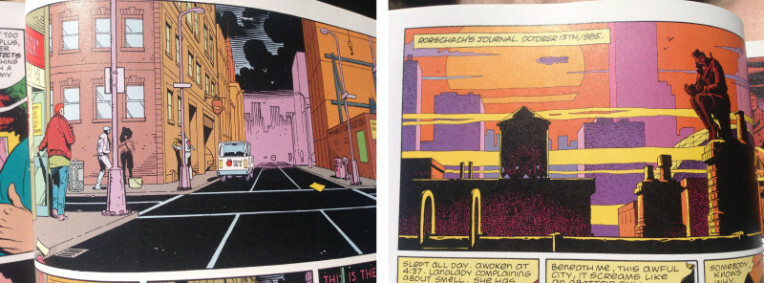
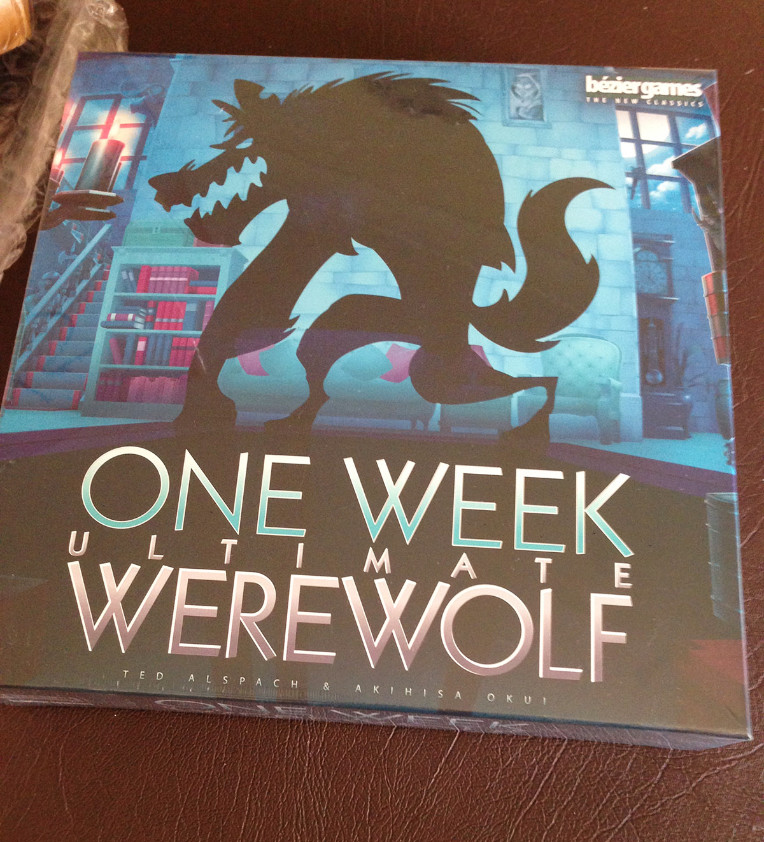
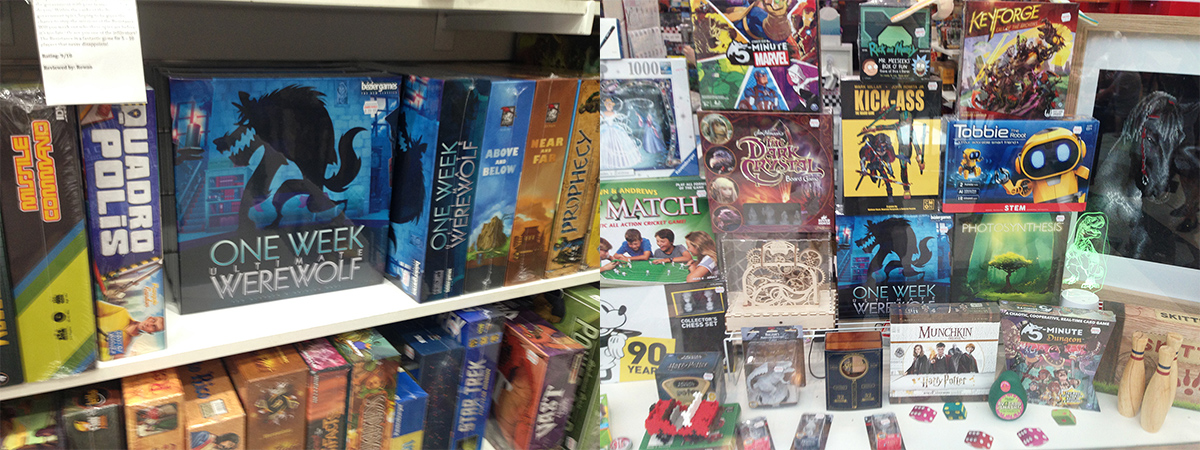
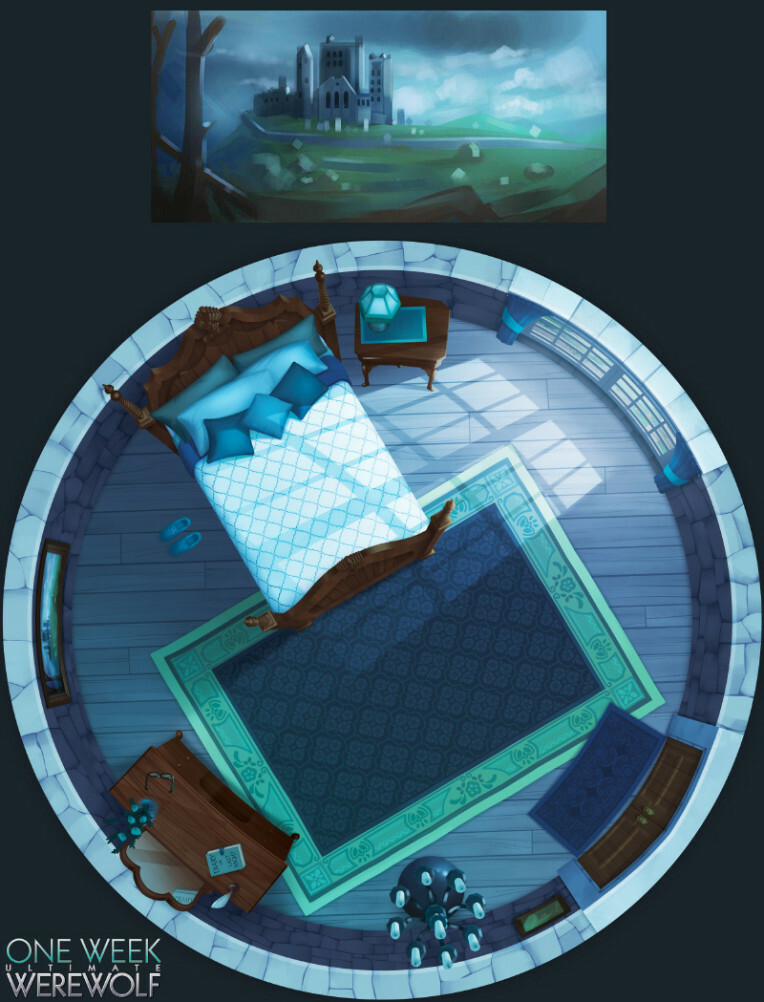
Best example I can think of is this painting in the guest bedroom of One Week Ultimate Werewolf. I painted it first and then warped it into perspective!
If you inherited $15 million that had to be spent on a personal project, what would you make?
I’d make a 2D animated comedy show (a 12 episode season) that’s a variety show with lots of different characters and segments, maybe a bit of an Animaniacs vibe.
I’d recruit ideas for characters and segments from creative communities like Newgrounds and well as pay artists to come up with pitch ideas.
I know it’s not really my own ‘idea’ as the question might imply, but I’d rather find people with better ideas than me and hope that I bring enough to the table with my background specialty (plus a cool 15 million dollars in this example) to be a part of it.
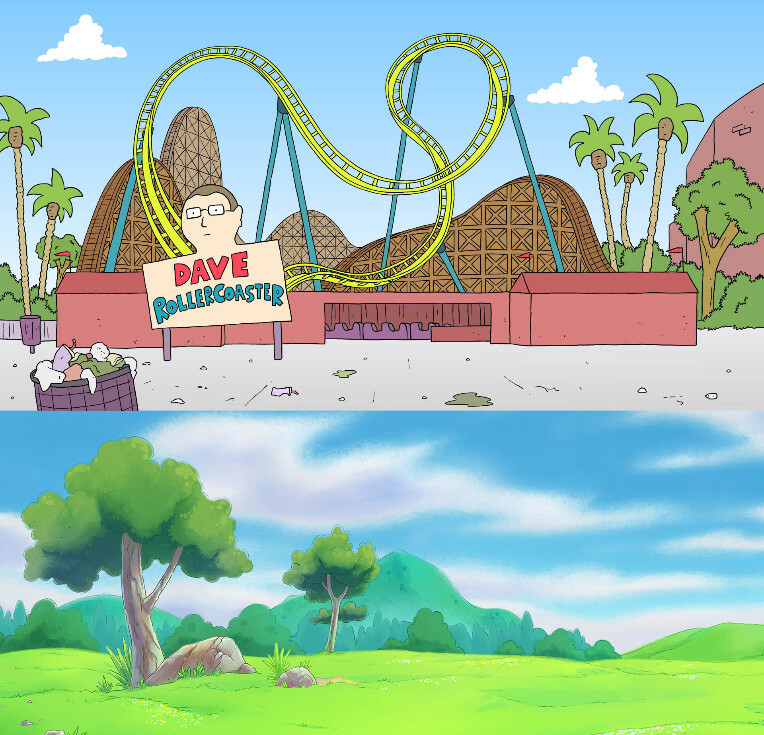
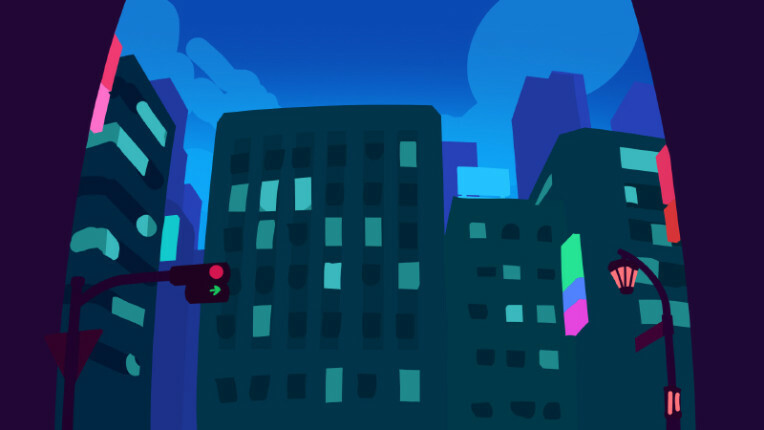
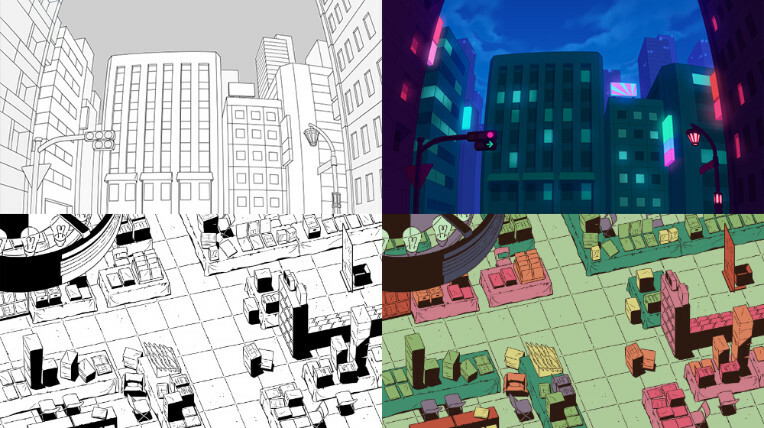
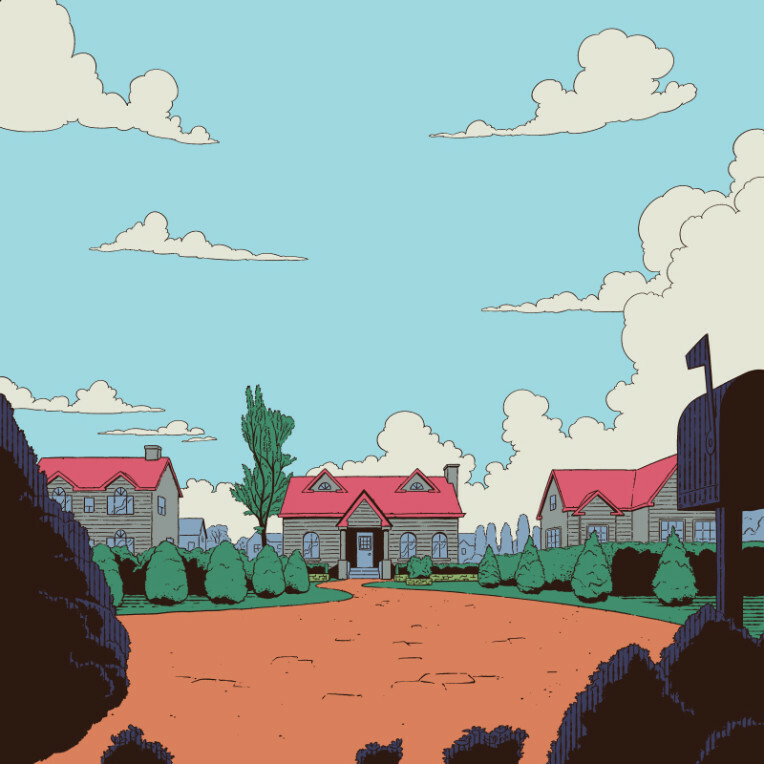
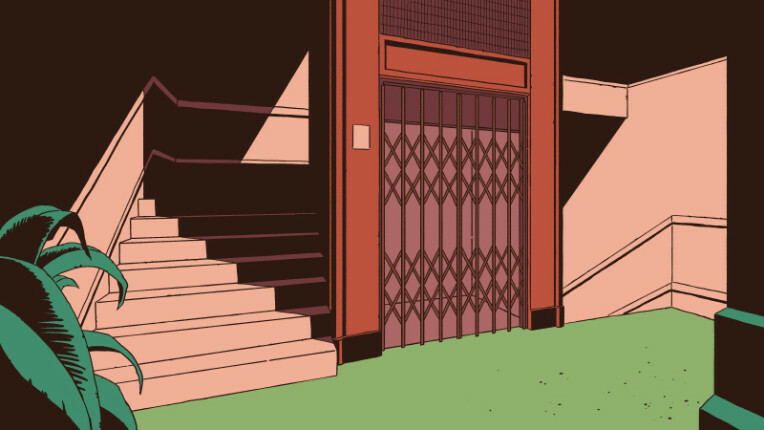
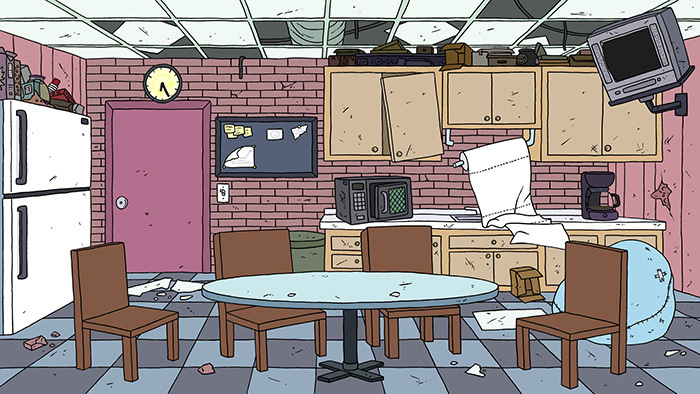
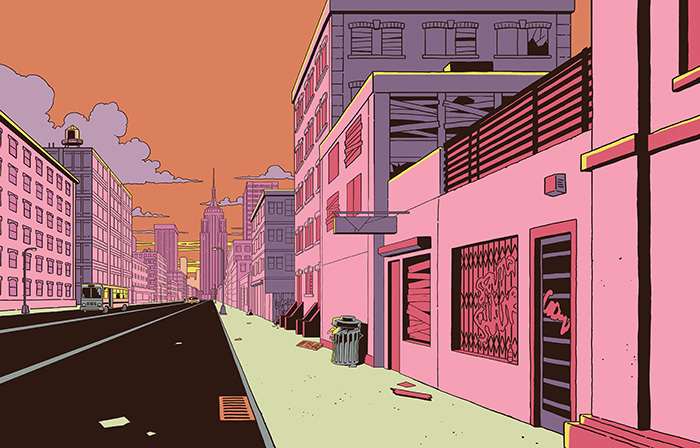
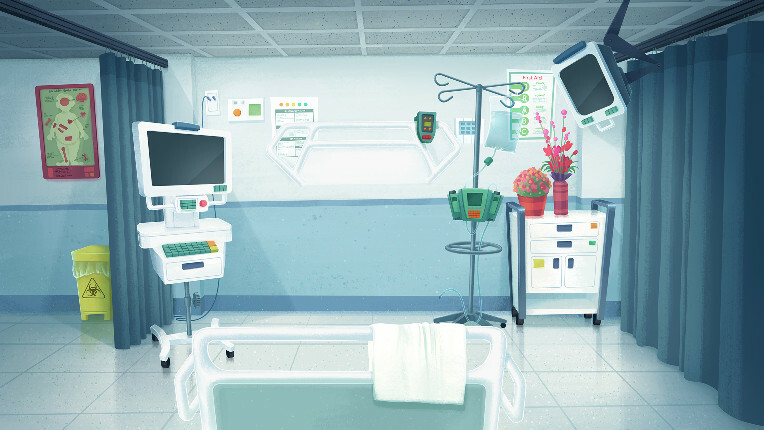
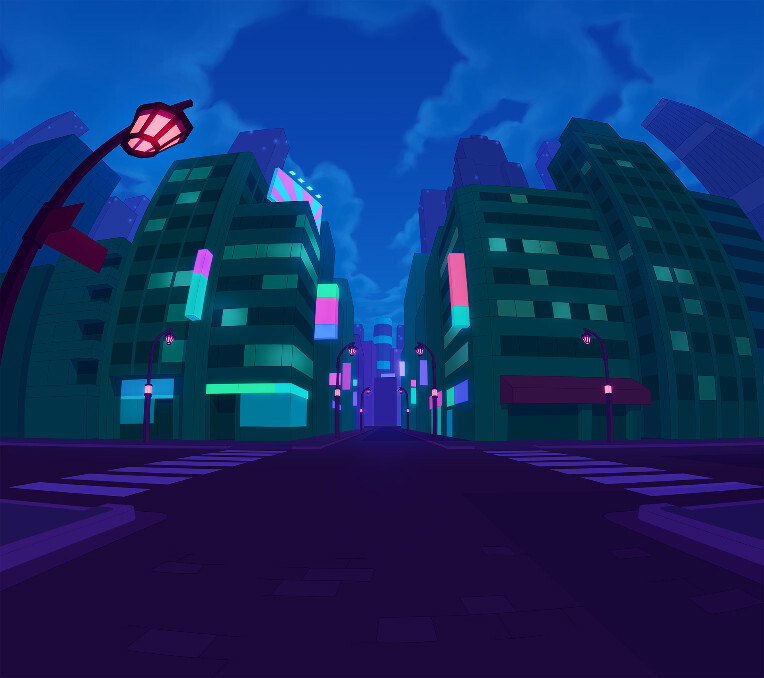
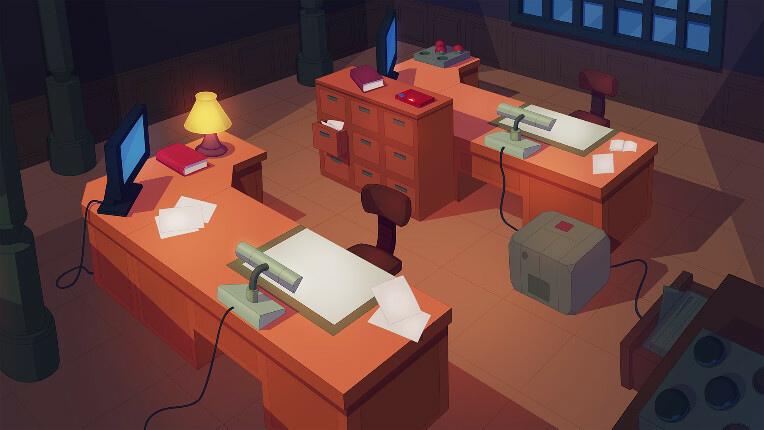
(backgrounds I’ve made for Smiling Friends created by Michael Cusack and Zach Hadel, and Flashgitz. Great examples of content creators with great ideas I’m excited to have worked on)
If you liked this post, check out my previous one: Behind the Project – Rick and Morty
Follow me on Instagram to catch the next time I open up questions, or check out my Twitter.

