


In this weeks post, I’m going to show you my personal workflow and all the different steps I take to create a background or illustration from start to finish.
Before I begin anything I usually gather reference images from the internet and have them open on my side monitors.
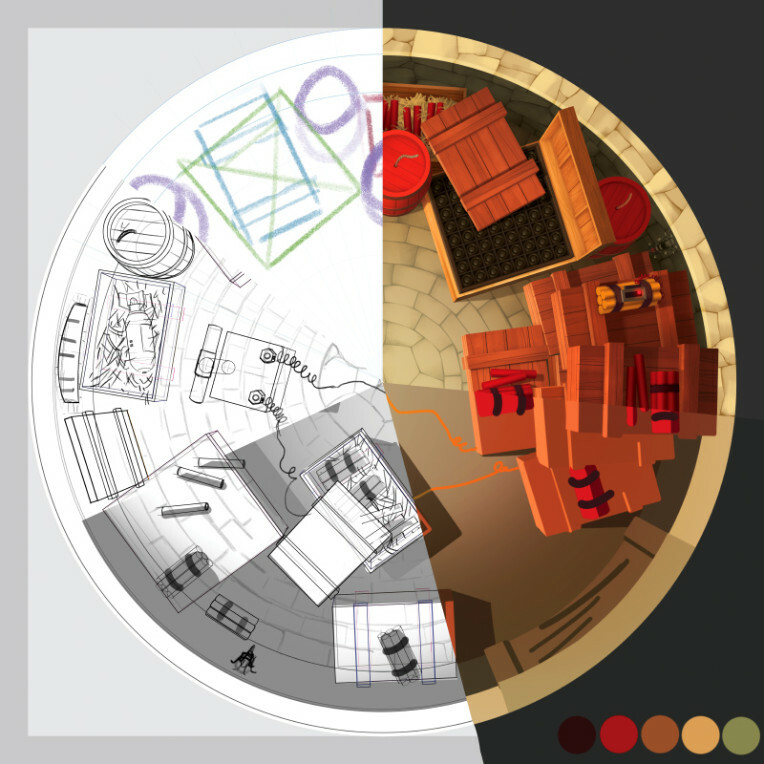
Roughing out my illustrations is usually done in two phases. First is a step I’ve come to call the “rough-rough.” Using large brushes and erasers (sometimes several hundred pixels wide) I very loosely sketch out the composition. I’m also feeling out the perspective, especially where to place the horizon line. Even though I don’t draw them in, I’m also thinking about the placement of the vanishing points. My perspective is always going to be a bit off in this step, but the more practised I get in freehanding perspective, the easier job I have cleaning it up in the next step.
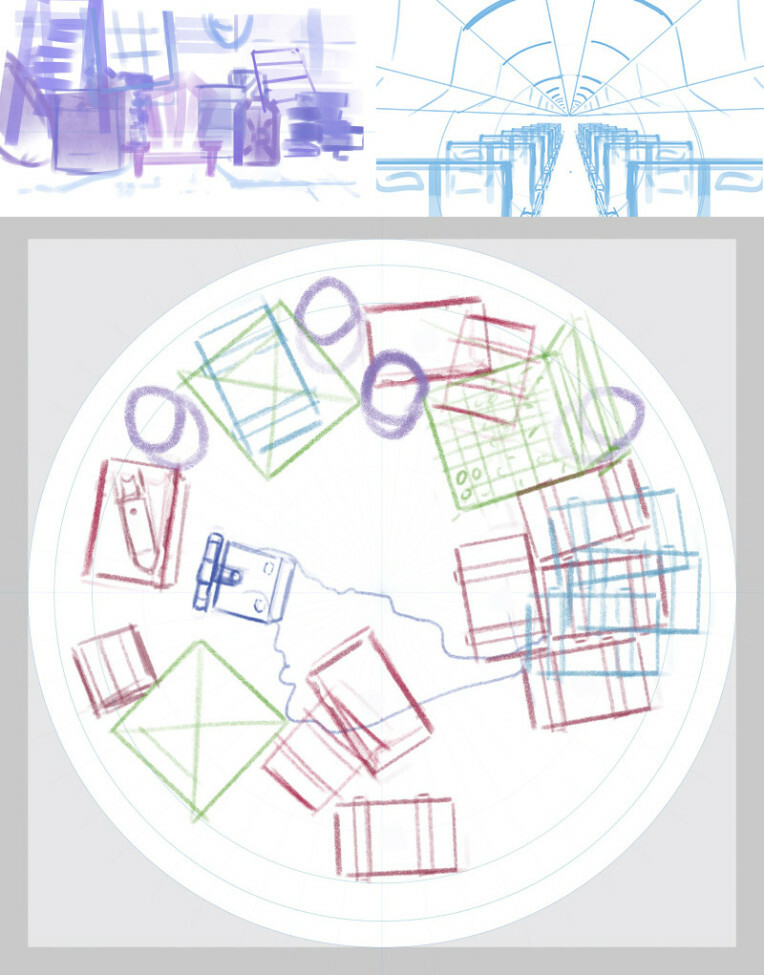
Up next is the rough. If it’s needed I’ll switch to Clip Studio at the beginning of this step to draw in a perspective grid and some details easier to do with the perspective ruler tool. I like to make my roughs reasonably detailed and leave nothing ambiguous so that the painting stage later on is as efficient as possible. The rough is usually the first step I send to a client for approval.
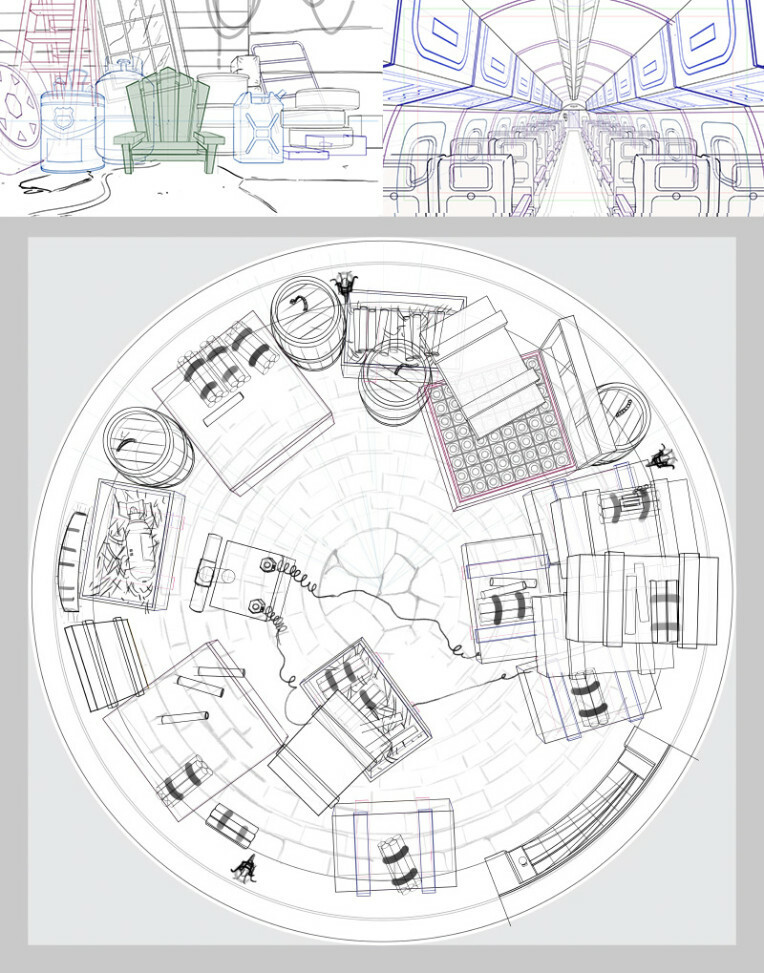
Sometimes at the end of the rough I’ll do a value pass to plan the main areas of contrast and lighting. I use a multiply layer on top of the rough.
In a 2D animation background pipeline, the layout stage comprises of the rough, plus technical setup of the background, camera placement and more. Layout’s something I’ll talk about in more depth in a future post.

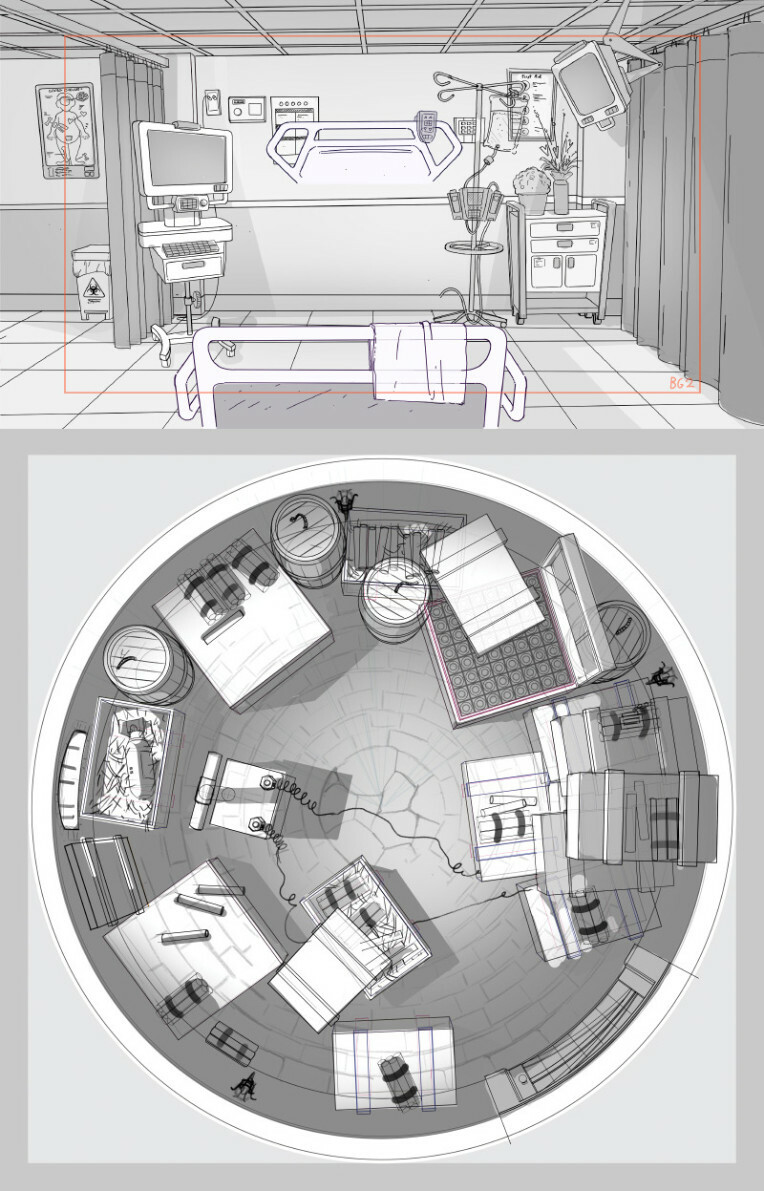
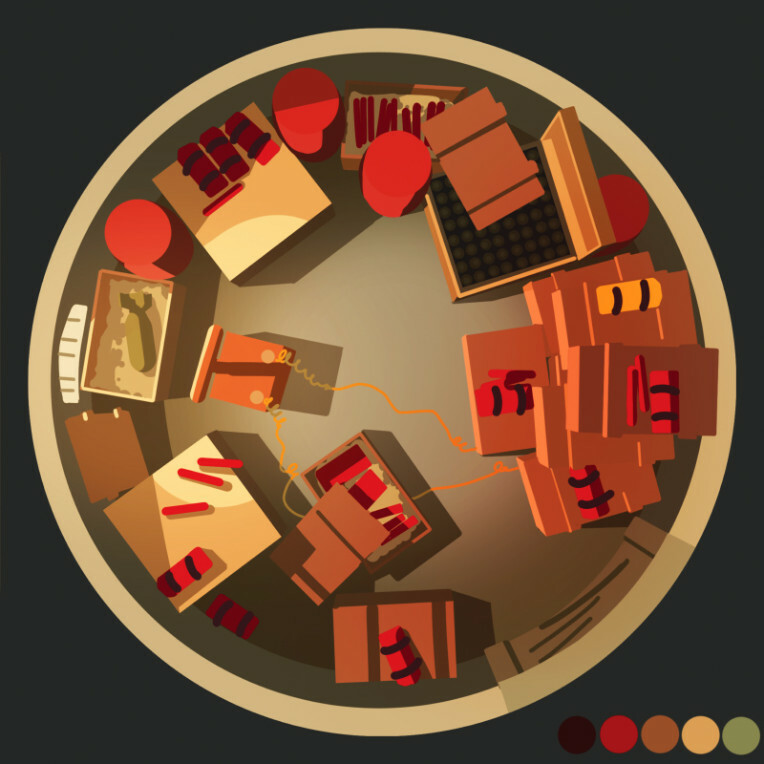
Next up is my colour rough. My process for doing colour roughs involves drawing a bunch of flat shapes and quickly throwing down colours. Then I can see what isn’t looking right and slowly make adjustments until I narrow down onto the final colours. I often preview my colour roughs in grey-scale. Often if a colour rough is not working, it’s because the values are off.
A strong colour rough means I don’t need to think as much during the final paint, and I can work faster and focus on rendering technique and polish. Getting my colours figured out here means I can have a cleaner layer structure in the final illustration. This is super important for a key background for animation where many other angles also need to be painted. A minimal layer structure makes the background so much faster to replicate.
The colour rough step is most important for designing a new location and can be skipped if there’s an existing design/key background already. It’s usually the next step I’ll send to a client. Between the detailed rough and a colour rough there’s no surprises to the client how the final piece is going to look.
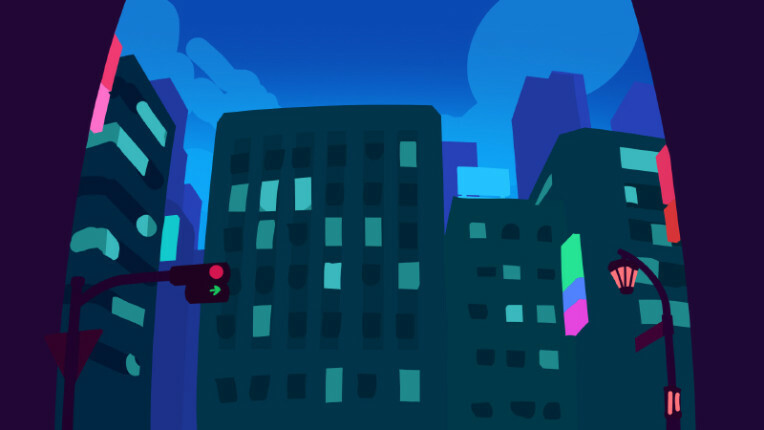
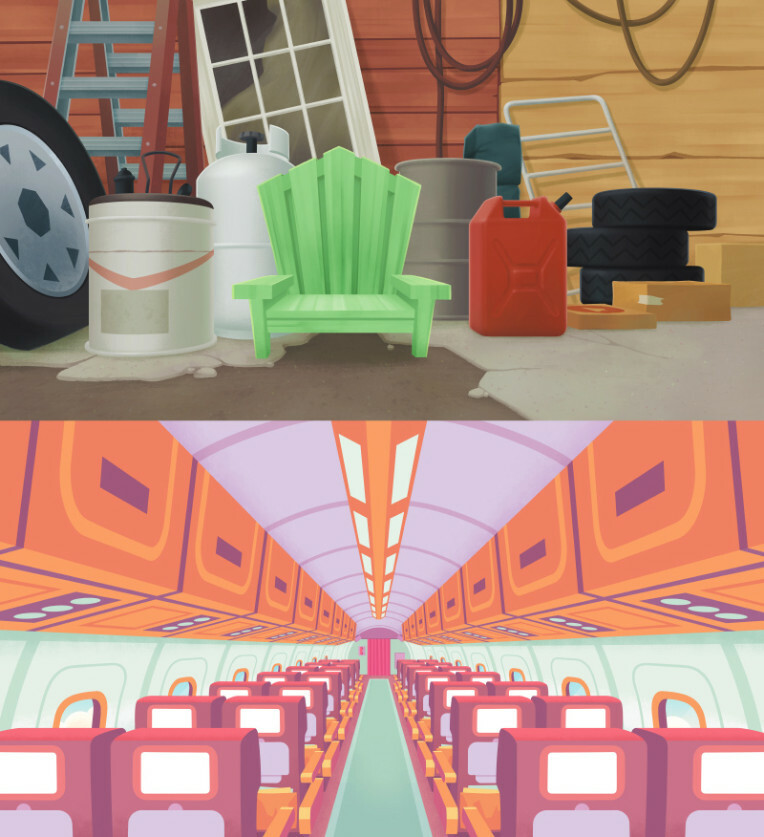
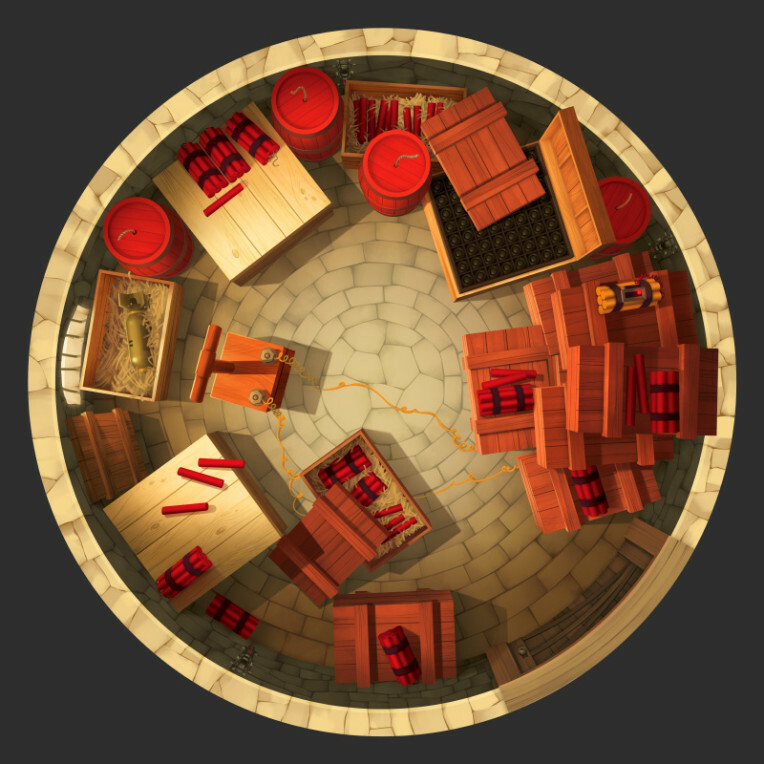
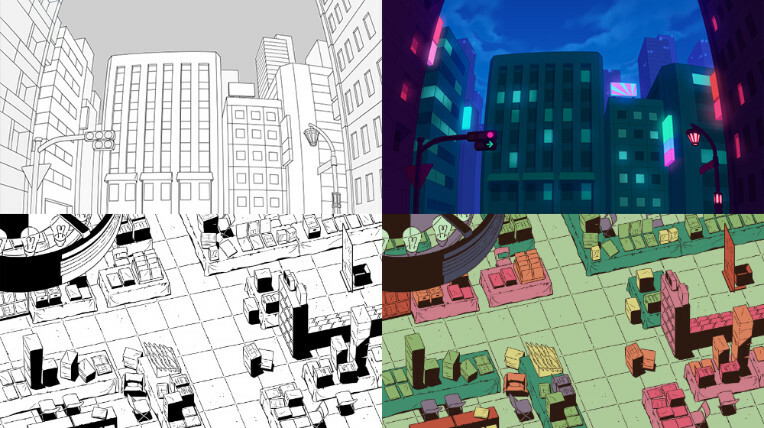
Time to paint the final illustration. I typically do this using a variation of one of two different methods, lineless and lined backgrounds. Lineless backgrounds are done mostly by drawing shapes and then shading them using transparency lock or clipping layers.
The lined background method involves two steps, the clean line and the final colour. In some studio pipelines they are both submitted separately for approval or may even be done by two different background artists.
When I was a less experienced artist I was a lot less structured with my processes and would wing it a lot more. Today my workflow is an influence of things I’ve picked up from working in studio pipelines and methods I’ve found to make higher quality work with a more predictable and consistent result, which is important when working professionally.
Previous post: Behind the Project: HBO Backstories - Watchmen
D-SuN
Your backgrounds are so godly thanks for sharing Greg! So much inspiration.
zeedox
Thanks so much Dan!