Back in 2019 I had the amazing opportunity to paint some backgrounds in the Rick and Morty season 4 premiere episode for Studio Yotta, who animated the ferrofluid sequence.

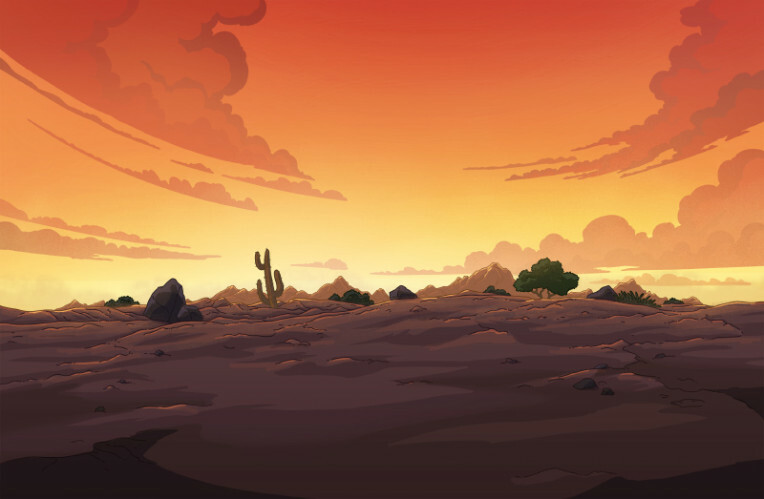
It wasn’t a particularly large job, Yotta needed me to paint five extra backgrounds for them. Four of those five backgrounds were very straightforward. If it weren’t for the fifth one, I don’t think this project would have made an interesting enough ‘Behind the Project’ post.
I was provided with key background PSDs for reference, so it was just a matter of copying the design of the sky, clouds and ground in my layouts and painting the backgrounds by replicating the structure of the key backound PSDs, layer by layer, colour by colour, blend mode by blend mode. About as cookie-cutter as background paint can get really.
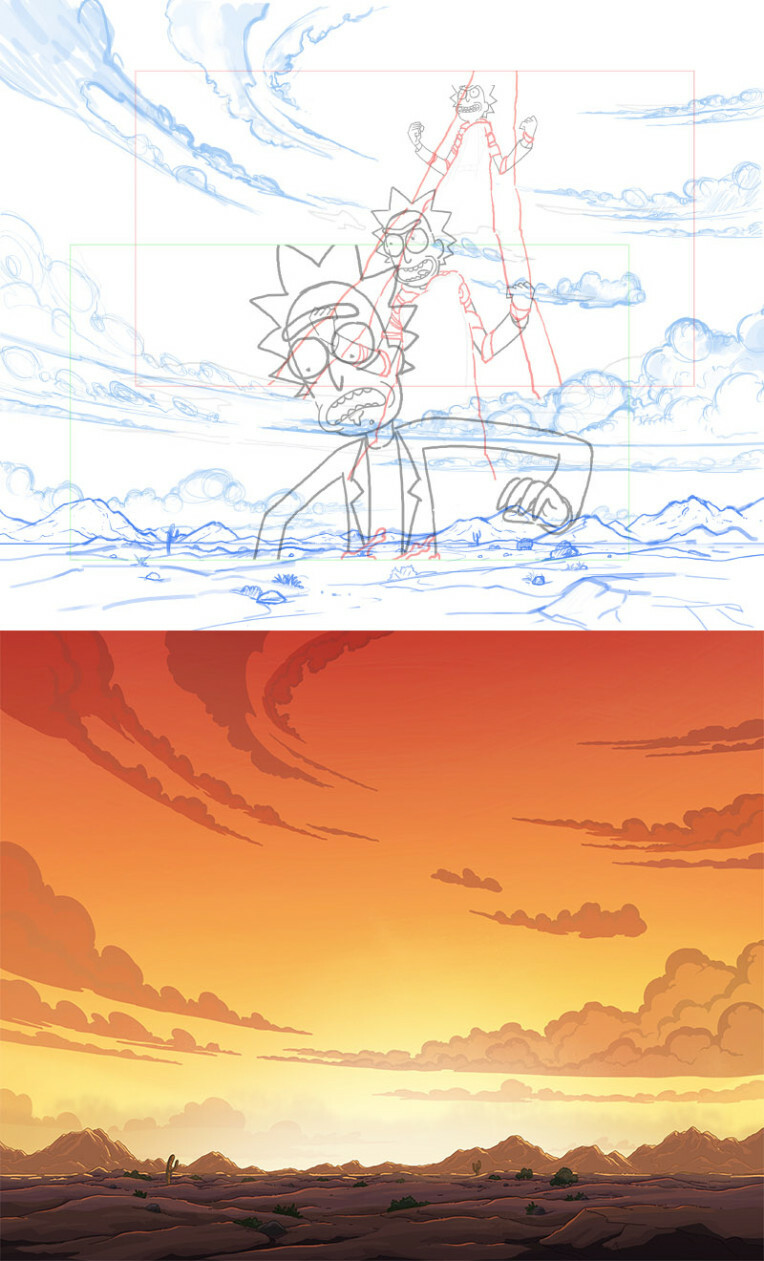
Except for the fifth shot. Oh boy.
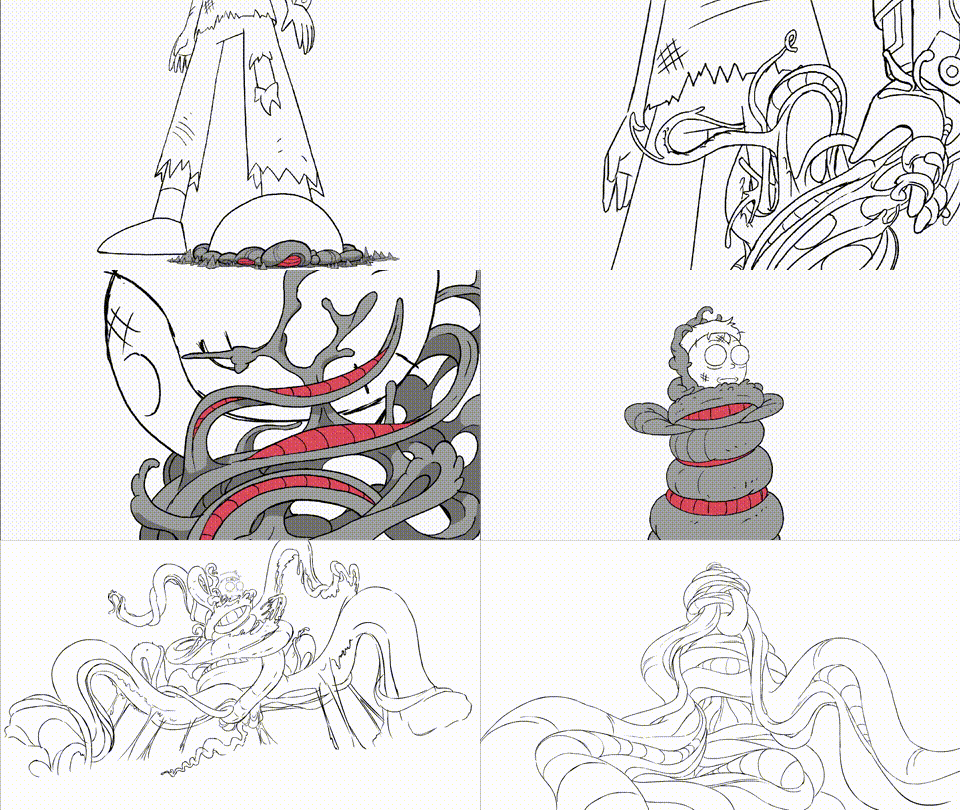
I was given this rough animation of Morty transforming, with the camera panning, rotating and zooming around to work from. How do I even begin? Fortunately for me, earlier that year I’d worked a large studio job as a layout artist and had some new skills to put to good use.
To start, I grabbed screenshots several frames apart from the rough animation and started lining them up to wrap my head around exactly how the camera was moving. It was easier to begin working off the animatic rather than the rough animation since it had perspective grid lines, giving me a better indication of the intended movement of the camera.
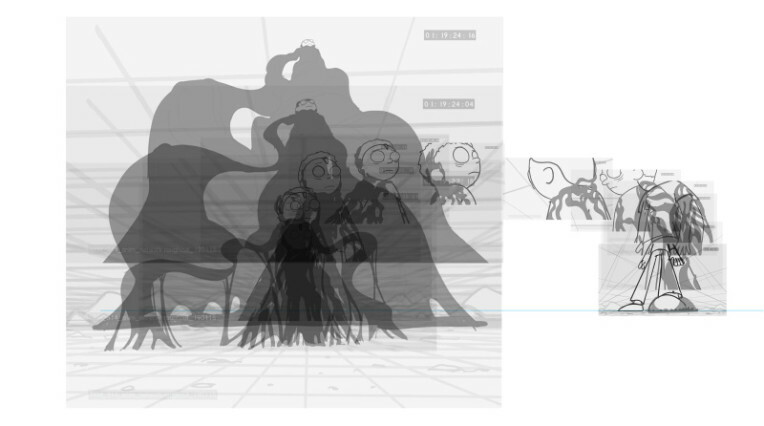
After placing all these screenshots, it became apparent that the resolution of the file would be too large to paint easy. I saw a solution. I could break it up into two backgrounds, and when the camera was zoomed in close on the sky, one of the backgrounds could be swapped out for the other one and it wouldn’t be too difficult to make these two backgrounds match up exactly in the transition area.
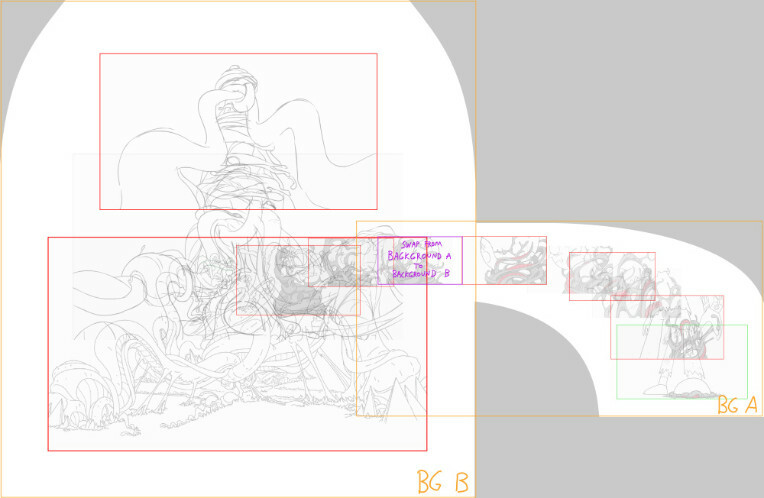
Next up was doing the rough. I noticed that one of the reference backgrounds was an exact match of the angle of background B (the left side). It was lower resolution than my background, but I can reuse it’s line work in my layout and trace over it when doing my final lines, saving myself a bit of work.
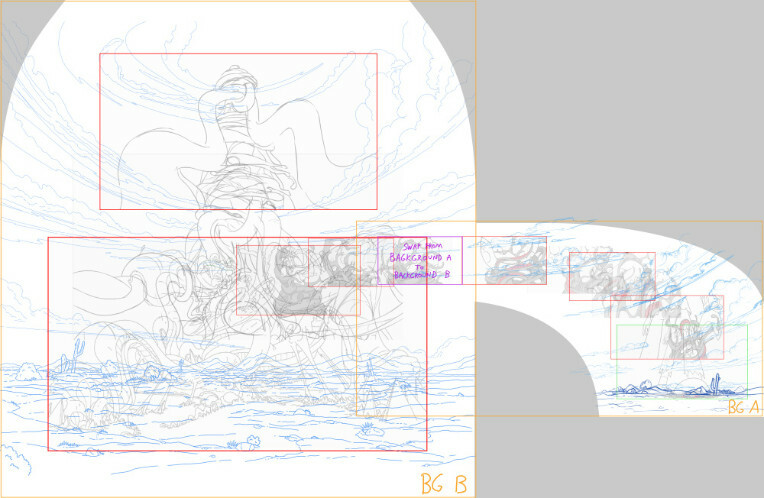
With the challenging part out of the way, time to do the final line and colour.
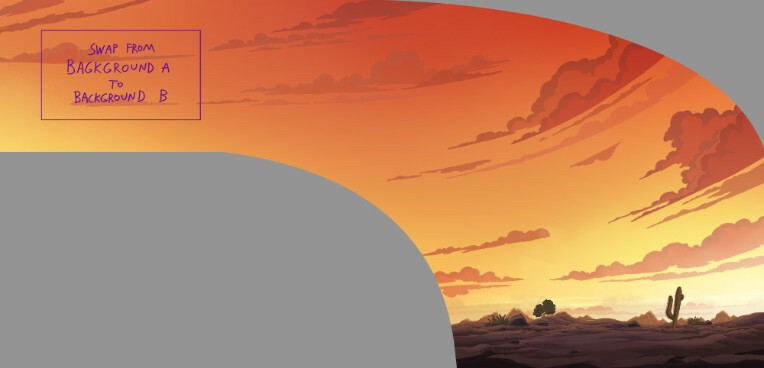
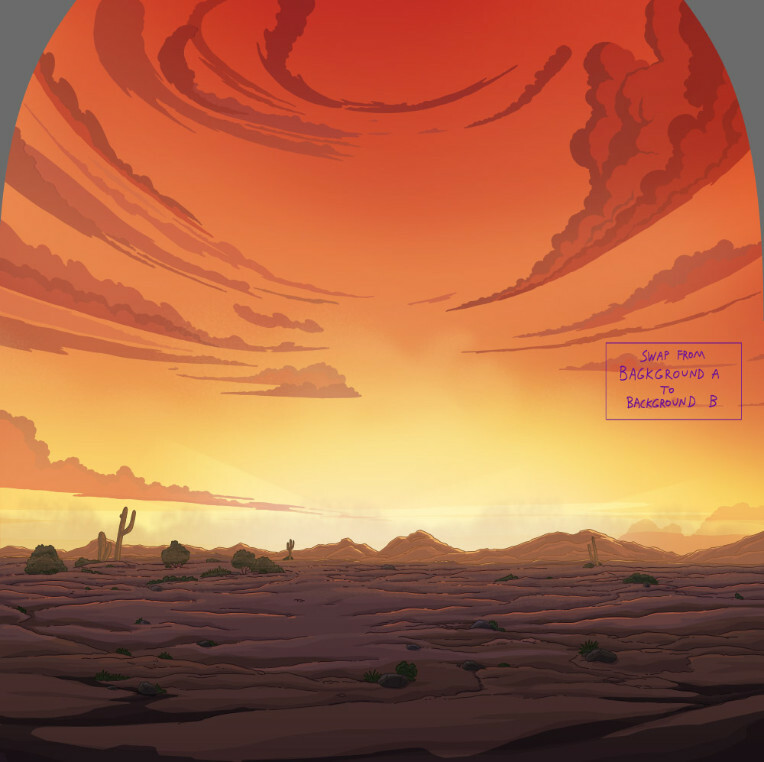
If you enjoyed this Behind the Project, Take a look at my last one about being a background lead on the short HBO Backstories: Watchmen.
Check out more of my work on Instagram or Twitter
Previous post: My Process – How I Create an Illustration From Start to Finish
SpikySaurus
wow amazingg