


On two different productions I’ve had a very fun and interesting task: designing a process for painting fog or mist to be applied to a large number of backgrounds.
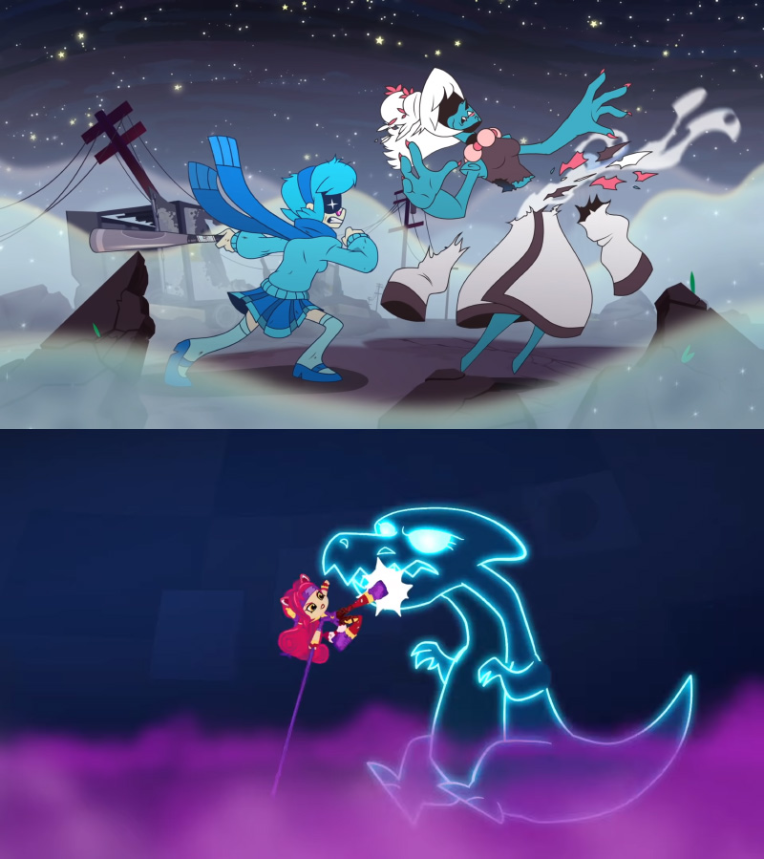
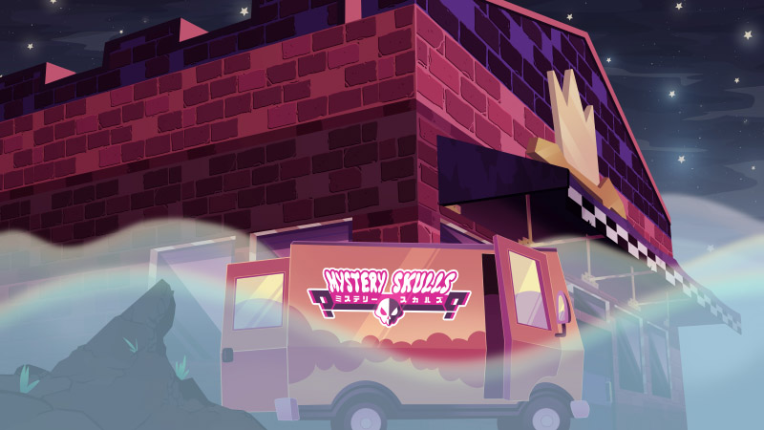
(Stills from Mystery Skulls Animated: The Future and Shopkins: Wild)
It’s a deceptively simple task but it comes with a couple of challenges. It needs to:
- Match an artistic vision set out by a director/art director/client.
- Use as few steps as possible so it’s easy and fast to replicate
- Look good in all kinds of situations. How does it look in both close ups and wides? How about when characters are in the foreground or in the background underneath some of the fog layers? How about when the ground is visible, how does the fog meet the ground?
The first time was for the feature film Shopkins: Wild that I worked on as a background artist at Studio Moshi in 2017. The opening sequence took place inside this dome filled with mysterious pink mist.
The design for this mist didn’t click until I experimented with a circular brush with softness added to the edge and the brush size affected by pressure sensitivity.
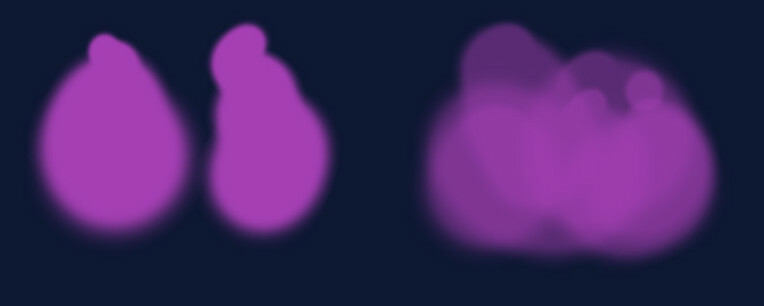
By giving the brush a set opacity, the volume of the mist could be built up with brush strokes. This was done across several layers, with each layer using a different shade of pink/purple and various amounts of blur to create the final look.
Following this method, it took 5-10 minutes to add new mist into a background. Very useful since this sequence had several dozen backgrounds requiring it.

The second time I had task was as background lead on Mystery Skills Animated: The Future. A large portion of the animation takes place after the fog has appeared. With quite a few background artists working on it, providing detailed instructions was key to keeping the fog consistent. Small differences in the look of the fog between backgrounds could stand out which is why consistency was so important.
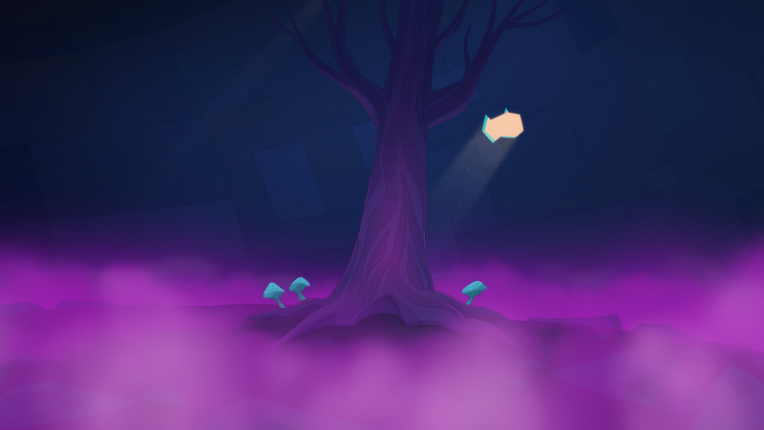
(Background Paint by Huyen Ngyuen, layout by myself)
I put together these detailed step by step guides of how do draw each of the fog layers: foreground, midground and background fog.
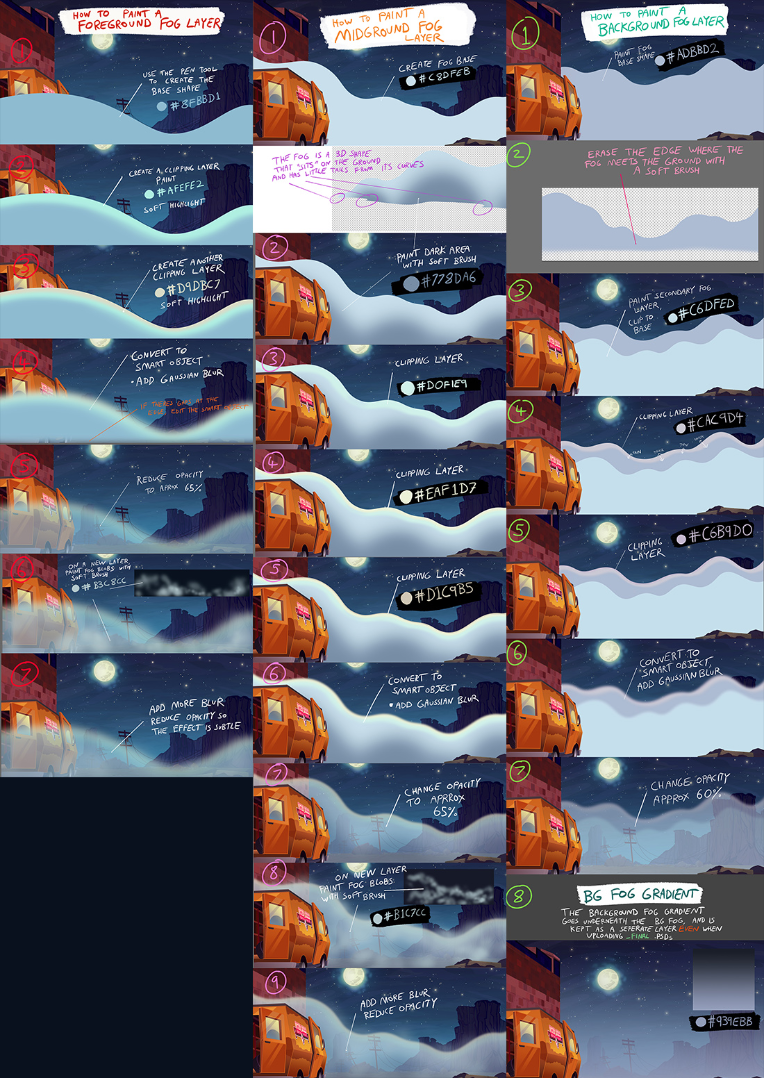
There were a few other additional steps including dropping some pre-made adjustment layers on top of background objects to make the colours a little bit more purple and mysterious. Changing the colours through adjustment layers allowed lots of reuse to happen between the fog and non fog scenes.
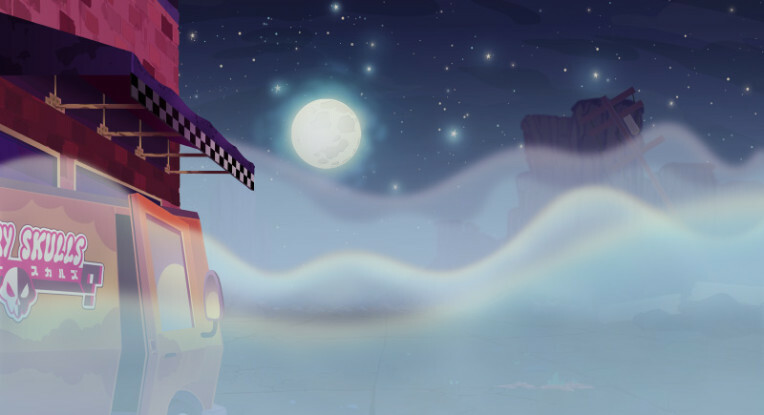
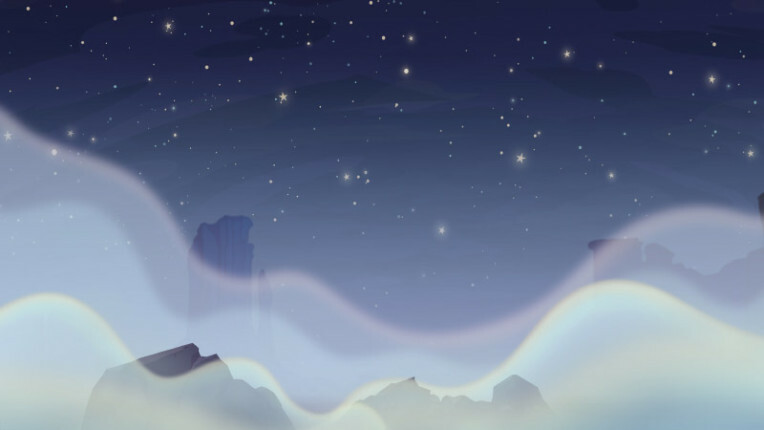
(Background Paint by Magpie Raven Blackford, layout by myself)
Hope you enjoyed this post! Check out my last one: How I ditched Flash and learned to paint in Photoshop with a New Years Resolution
Follow me on Twitter or Instagram for more updates on what I'm working on.
Positron832
User of the day.